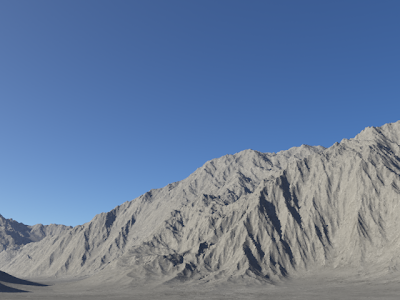
I'll be using this landscape here that I generated:
If you don't know how to do this, please go to my previous tutorial here
Now click on the big Render button on the toolbar at the top
Your 3D Preview should have changed now; the lighting should be more accurate, and you should be able to see the sky, too.
In other words, when you click on render, you get a preview of your render, and not just the landscape as you had before while you were generating the terrain. You should notice two options in the Outline on the left: Full Render and Quick Render. The full render is just what it says; the full render. The quick render is supposed to be smaller and show less detail so it renders faster. The quick render should only be used for preview renderings, not the final image.
Let's do a quick render, first off. Click on the Quick Render option, and a bunch of options will appear on the Properties panel below.
We won't be focusing on any of these particular settings, as the defaults are just fine. Keep in mind that some of the features are limited if you have the free edition, though (like I do). Let's just render this and see what it looks like.
You'll notice that when you begin the render, you'll see this little dots begin to cover the screen. This is just the Global Illumination taking effect (if you want to learn more about GI, here's the wikipedia article on it: http://en.wikipedia.org/wiki/Global_illumination).
This is my result with the quick renderer:
As you can see, it's not very detailed. In fact, it doesn't look much different than what we see in our 3D Preview. So let's try out the Full Render now.
Click on the Full Render button in the outline. Set your camera dimensions as you wish; I'll be keeping mine at the default, though. Typically I'd raise the Detail setting to 0.8, but since I'm making these tutorials, and I need fast renders (:D), I'll keep it at 0.5.
Here's my result with the Full Render:
As you can see, the detail is a lot higher, the image is a lot bigger, and the overall quality is a lot nicer.
The render settings I talked about that would depend on your scene are controlled with the Atmosphere, so they will be covered in a later tutorial, which I will release as soon as possible. However, a more important feature is what I will be writing on next: the Shaders. These (though termed incorrectly) control the color and texture of your land (think of it as a material in other software, such as Blender).
That's it! Thanks for reading, and if you have any questions, comments, or problems, post them below, or email me at ben.amend@gmail.com


No comments:
Post a Comment