
This is the final result of this tutorial:

So let's get started!
First, open up your previous .blend file with the handle in it. As you can see in this image, I have rotated the handle and moved it around to produce the final image shown on the last tutorial.

To put it back to it's original position, I'm going to clear it's rotation (Alt R), clear it's scale (Alt S), and clear it's location (Alt G). Now when I go back to front view (Numpad 1), I'll see this:

Next we're going to deselect the handle (A), and zoom out (Scroll your mouse wheel or use the '-' key). Pan your view up some (Ctrl - Numpad 8) so you get something like this:

Ass you may have guessed, we're now going to work on the blade. Add a plane (Shift A - Mesh - Plane), and go into Edit Mode (Tab). Go to the top view (Numpad 7), and deselect all of the vertices (A). Add a loop (Ctrl R) in the middle of the plane as shown below:

Now invert the selection (Ctrl I), and delete the selected vertices (X). Go back into front view (1) and zoom out some. Rotate the line 90 degrees along the Y axis (R - Y - 90), tab back into Object Mode, and move the line up along the Z axis (G - Z - 35).

Now scale it up along the Z axis (S - Z - 20).

We're going to give the blade it's materials now. Click on the materials button on the right side of the window:

Click on the big button that says 'New'. Next, select the button that says 'Halo'.

Now go go into Edit Mode (Tab), and subdivide the blade (W - Subdivide). On the left, set the number of cuts to 10. Next, subdivide it again, and set the number of cuts to 5. If we tab back into Object Mode now, we should see this:

Now, back in the materials panel, raise the 'Add' value to 1 (the maximum), and change the color from light-grey to white.

Now, we won't have an exact idea of what we want the halo size to be until we render it, so we'll leave the material settings at that for the time being.
Moving on, we're now going to duplicate the blade (Shift D - Right Click). Now scale the second blade up slightly (S - 1.03), and subdivide it once. There's a small '2' next to the name of your material; click that to make the material a single user.

Now make the color of this material the color you want your lightsaber to be; I'm going to make mine blue. Next we'll work on the handle materials. Select the handle, and press the 'Add' button to give it a new material. I'll just be giving it a basic shiny metal material; set the specularity's intensity at 1 (the maximum value), and set the Hardness value at 100. Next, change the specularity type from 'Cook-Torr' to 'Wardiso'. Finally, enable Tangent Shading, and make the material a darker grey color. Your material settings should now look like this:

Now tab into Edit Mode, and zoom in on the two rings and the upper part of the handle. Select these portions of the mesh:
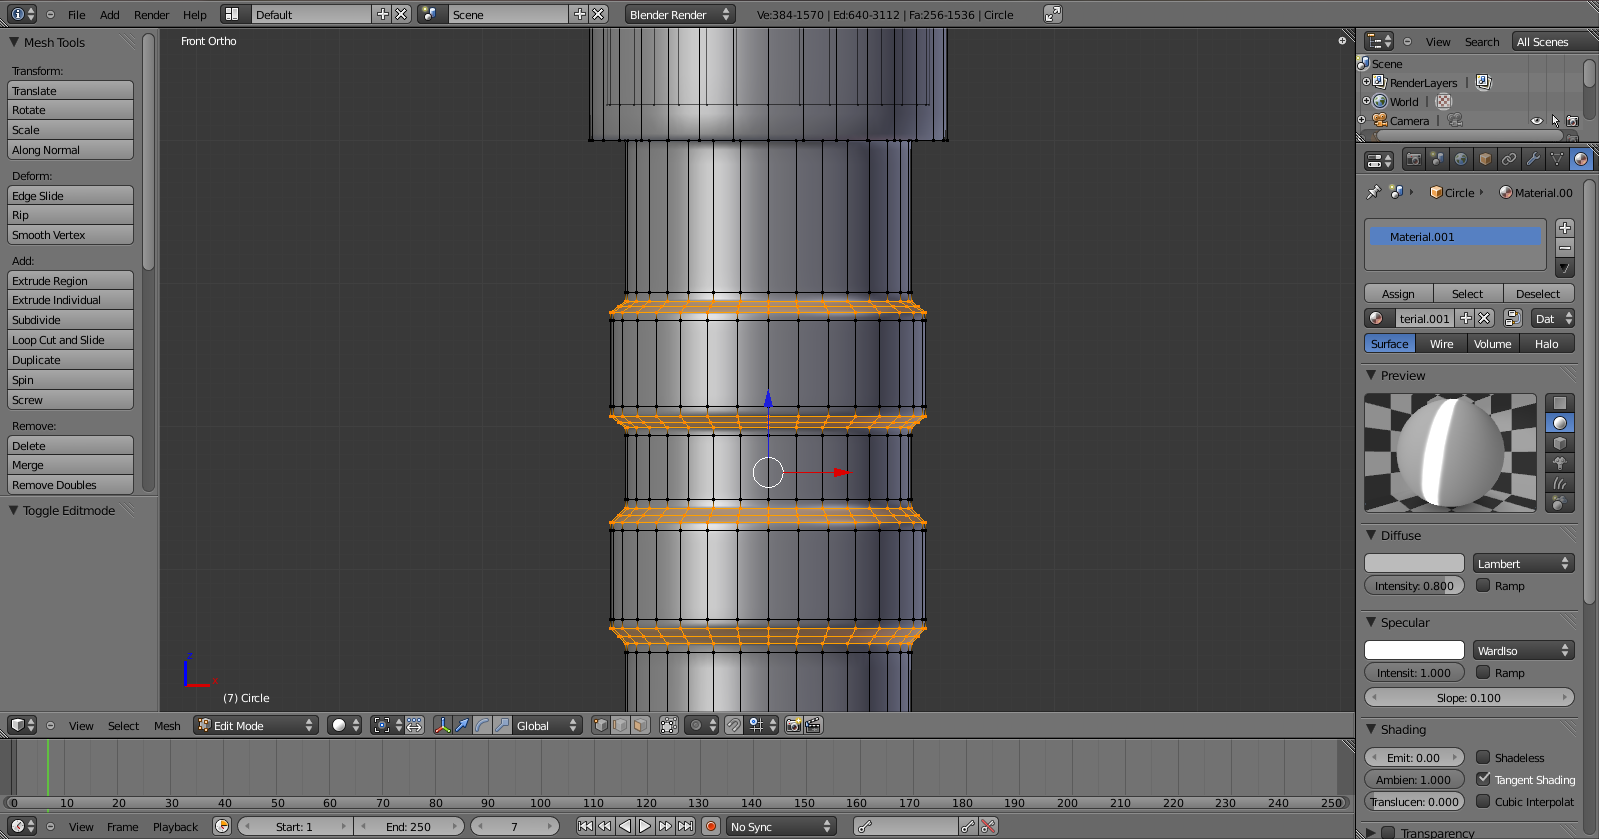
Add a new material, click the little '2' again, name the new material 'Gold' and the other material 'Silver'. Now change the color of the Gold material to gold, and click the 'Assign' button at the top of the materials panel. If you tab back into Object Mode, you should see that the edges of our rings are now gold:

Tab into Edit Mode again, and deselect the rings (A). Add a new material by pressing the '+' button, click the '2', and name the new material 'Black'. Change the color to black, deselect 'Tangent Shading', change the specular type back to Cook-Torr, set the specularity intensity at 0.1, and set the hardness value at 50. Your material settings should look like this:

Now select the parts you want to be black. I'm changing these parts:

Click 'Assign' once you've selected the parts you want. I've noticed that the black is leaking into a part that I want to be silver:

This can be fixed by adding a loop underneath it:

Now deselect the loop (A), and select the lightsaber button by pressing 'B' on your keyboard and dragging a box around it with your mouse. Add a new material by clicking the '+' button, click the little '2', rename the material 'Red', change the color to red, and click 'Assign'.
Congratulations! You have just finished part two of this tutorial series! In the next part I will be showing you how to light and render the lightsaber in a simple scene. If you have any questions, comments, or problems, post them in the comments below. Thanks for reading!
Mind making this tutorial for the newer version of blender?
ReplyDeleteNothing should have changed since then... if something did, would you mind telling me what it is? If not, then yeah, it should still work in 2.56
ReplyDelete