

Thanks to eggler for creating the scratchies brush that I used here, and lifebtb for converting it from a Photoshop brush to a GIMP one instead. You can obtain this brush here: http://lifebtb.deviantart.com/art/GIMP-Scratchies-34170077
and you can access GIMP here: http://www.gimp.org/
Getting back to the tutorial, let's open up blender. I will be using Blender version 2.53 for this. We'll start by creating a basic scene, using objects that are accessible from the 'Add' menu. First off, delete the default cube by pressing 'X' on your keyboard. Next, add a monkey (Shift A - Mesh - Monkey). Rotate it along the X axis 50 degrees (R - X - 50 - Enter), and in the 'Object Tools' panel on the left, select 'Smooth' to smooth the faces for a nicer look. It still doesn't look quite smooth enough though, so let's add a subdivision surface modifier. On the right, click on the 'Modifiers' button (the one with the wrench), click on 'Add Modifier' and select 'Subdivision Surface' from the drop-down menu. Click on the 'Optimal Display' button. Next, we'll scale the monkey up 2 units (S - 2 - Enter). Now we'll change the background to a lighter color (I'll be using light blue). Click on the 'World' button (obviously the one with the earth on it), and click on the box under 'Horizon Color'. Select the color you want as your background color. If you render now, you should get something like this (F12 to render):

It doesn't look the best; the shadows are too sharp and too dark. Let's add some Environment Lighting. While your still in the 'World' panel, check the box next to 'Environment Lighting' and under 'Gather' select 'Approximate'. Finally, set the Energy to .5. Now if we render, we should get something like this:

That's already looking much better, and for the sake of the tutorial, we'll leave it at that. If you wanted, you could go farther on this image, but this tutorial is on Chroma Keying. In light of that, let's get started on the actual chroma keying.
On the bar up at the top of the window, there's a little box that says 'Default'. Click on the button to the left of it, and select 'Compositing' from it. This will set up our windows in a way to conveniently do the compositing necessary for the effect. Somewhere in the middle of your screen, there should be an option that says 'Use Nodes'. Select that, and for an easier work environment, drag the 'Render Layer' node to the upper left corner, and the 'Composite' node to the lower right. Now add a 'Mix' node (Shift A - Color - Mix), connect the image output to the composite node input, and the render output to the first image input on the mix node. You should now have a setup looking like this:
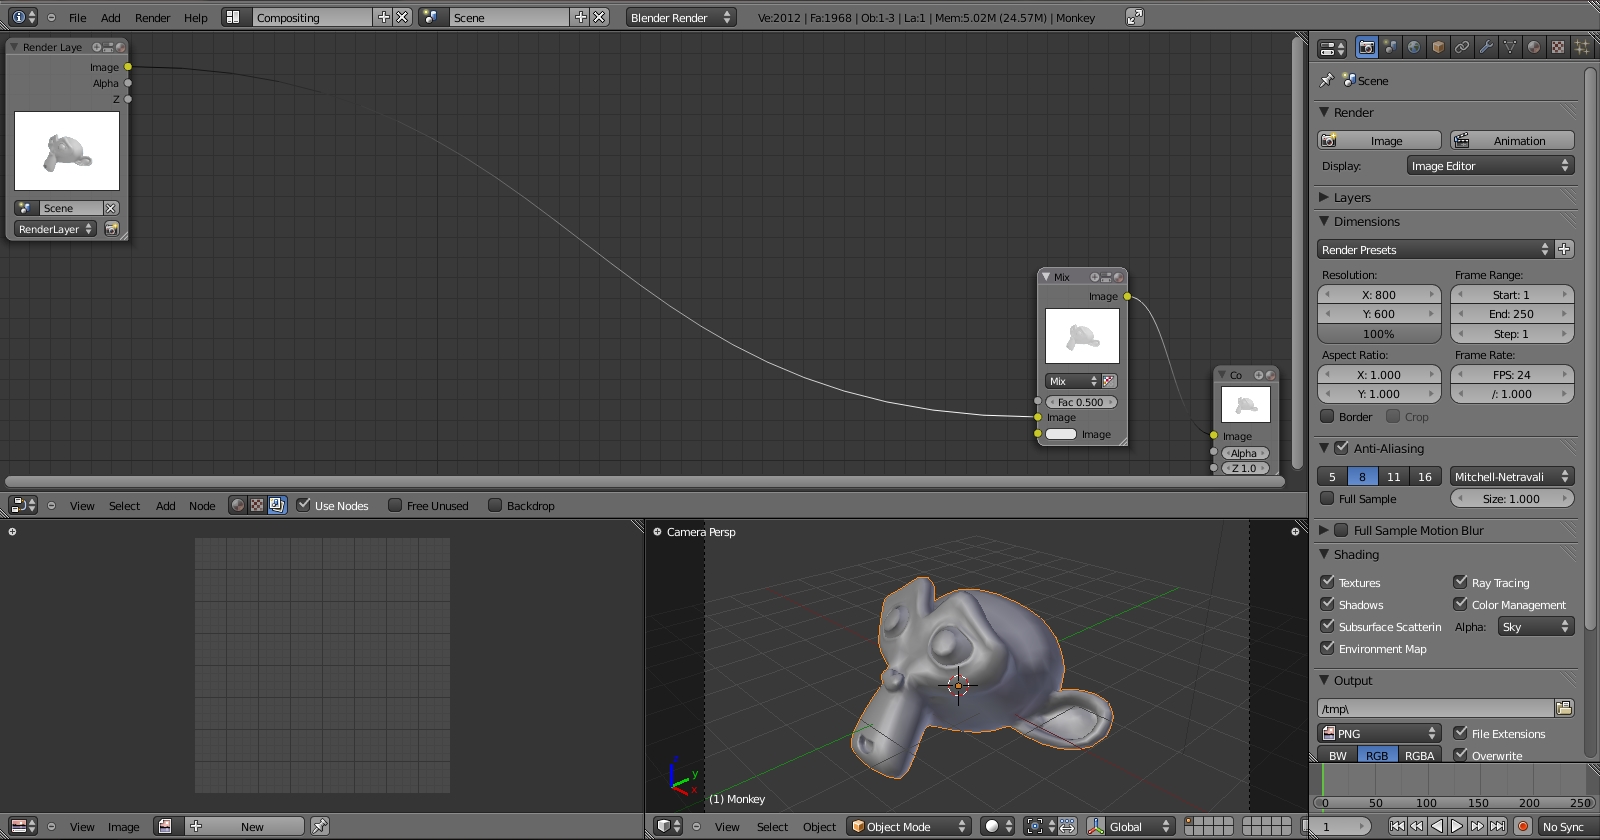
Next we'll add an 'Image' node (Shift A - Input - Image), then load the image we want to overlay. Notice that the node connected to the Mix node by default (if you had your node selected when you added your image input). We don't want that, so simply drag the connection wire off of the second input on the Mix node. Now add a Chroma Key node (Shift A - Matte - Chroma Key). Connect the image output from our image node to the input on our Chroma Key node. On the box next to 'Key Color' select the color that you want to make transparent; in my case, that color is white. Connect the image output on the Chroma Key node to the second input on the Mix node. Finally, click on the box that says 'Mix' on the mix node, and select 'Multiply'. Render, and you should get this:


Hope you got the same thing, or at least something similar! If you have any problems, questions, or comments, post them below. Thanks for reading, and I hope you got something out of this tutorial!
Obviously not the kind of image you'd want to put a grungy kind of effect on, but I didn't feel like coming up with something that would match the theme. :P
ReplyDeleteNice! I have a question, though. How do you get those pictures of the control bars and stuff? I've tried to on my blog,
ReplyDeletehttp://blendertheblog.blogspot.com/
but I don't know how to! Please post on my blog,
Nate
Thanks, Natronl! Sorry I couldn't answer your question until today. On my computer (and it should be on most computers as well) there is a button that says 'PRTSC SYSRQ' which stands for Print Screen, System Requirements (I think). It should be on the same row of keys as the F1, F2, etc. buttons. It may say something different, though. Hope this helps!
ReplyDeleteSorry, that wasn't complete. After hitting that button, you can paste the image in a photo editing program and save it.
ReplyDeleteIt definately did! Thanks so much, and I'll do your tutorials soon!
ReplyDeletethank you for your website.i have been working on learning blender for about a year. it can be tough(especially since i am going for photo realistic images-vfx)However, i have created some which i am pretty happy with. keep on blending. it would be nice if you would create a tutorial that talked more about vfx in blender. specifically; cycles chroma keying and layering the render layers. BUT, maybe i know more about that than you since i have been working on that. anyway, thank you. keep it up.
ReplyDelete